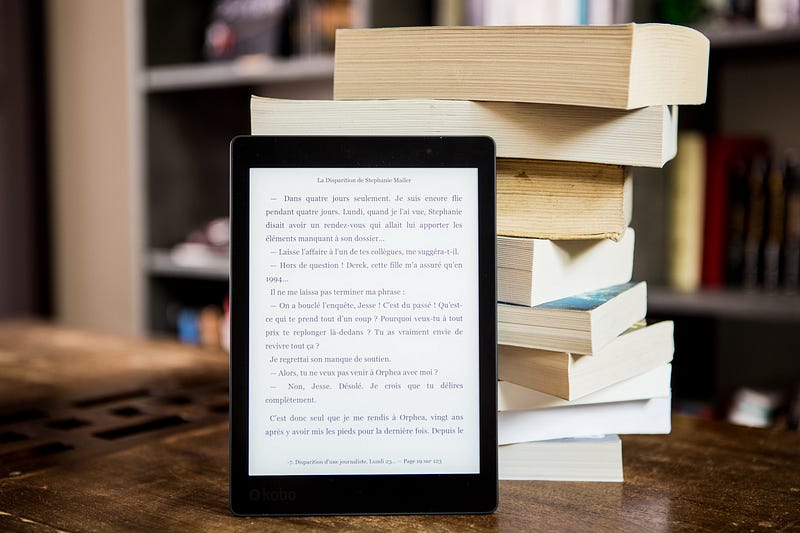
This is how I currently write and research my articles.
Tools like Roam and Obsidian can cut your research writing time in half and increase productivity.
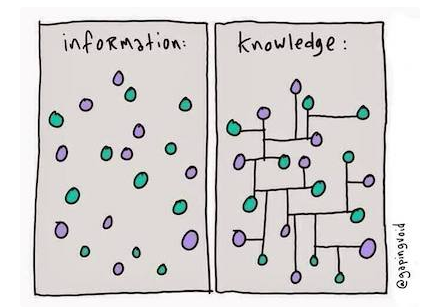
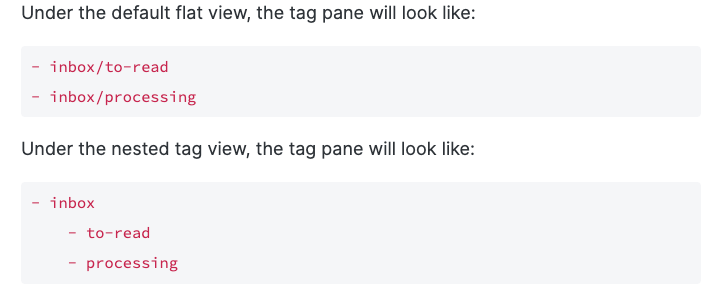
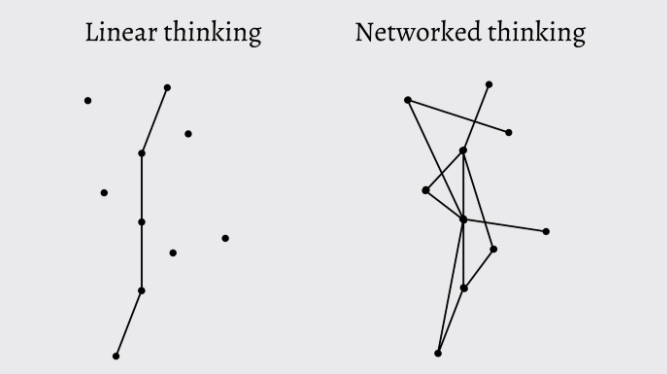
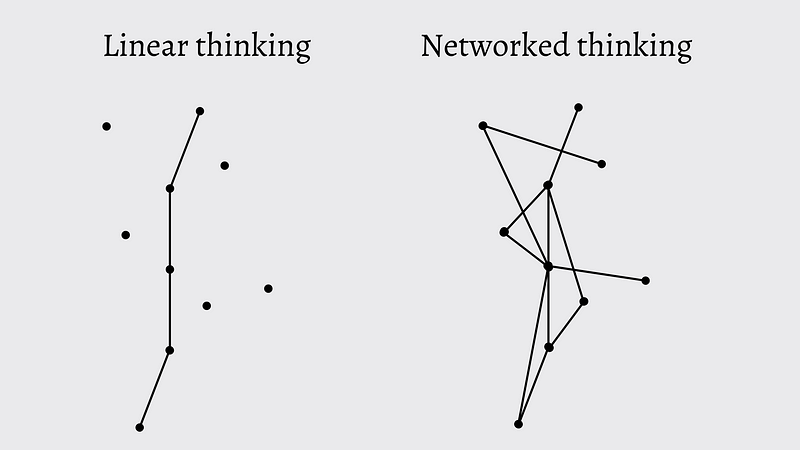
In essence, these tools are online workspaces for organizing your knowledge. Unlike in linear structured note-taking apps, such as Apple notes or Notion, in Roam and Obsidian, each note represents a node in a dynamic network, which allows you to discover and connect ideas beyond folder structures.
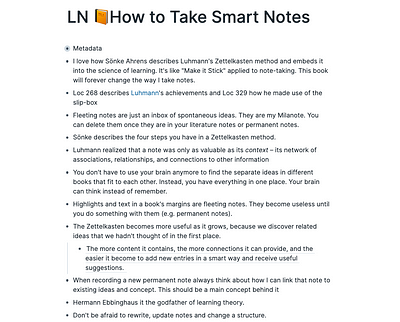
When I first learned about Roam, I watched and read every tutorial I could find online, studied Sönke Ahren’s how-to guide, researched coaches, and hired one.
I optimized for Roam for the perfect Zettelkasten structure, with different notes for different purposes and a clear tagging system.
And while I enjoyed learning about the system, my motivation to actually sit down and do the note-taking work soon decreased. Writing permanent notes felt like a self-serving activity, unlinked to any creative outcome.
At one point, I stopped.
At least, I thought, I stopped.
It wasn’t until a couple of months later, writing an article on the metaverse, that I discovered I still get most of the benefits with zero maintenance.
My Roam now runs on autopilot. And it still gives me most of the benefits for writing, but with zero maintenance. Here’s how.
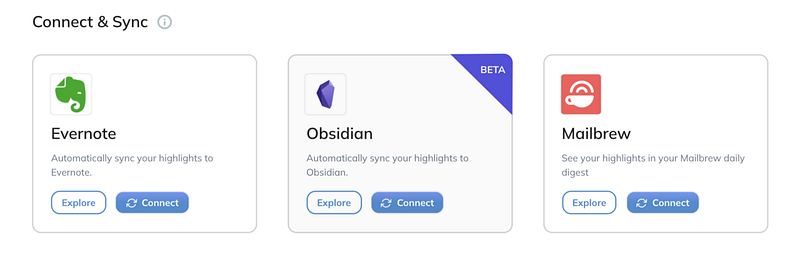
I’m not paid by Roam or Readwise for writing this. I pay $15 and $8 a month for their services. Free alternatives for Roam include Obsidian, RemNote, Amplenote, TiddlyWiki and Org-roam. I’m unaware of free Readwise options (except for importing highlights manually or setting up the automations yourself).
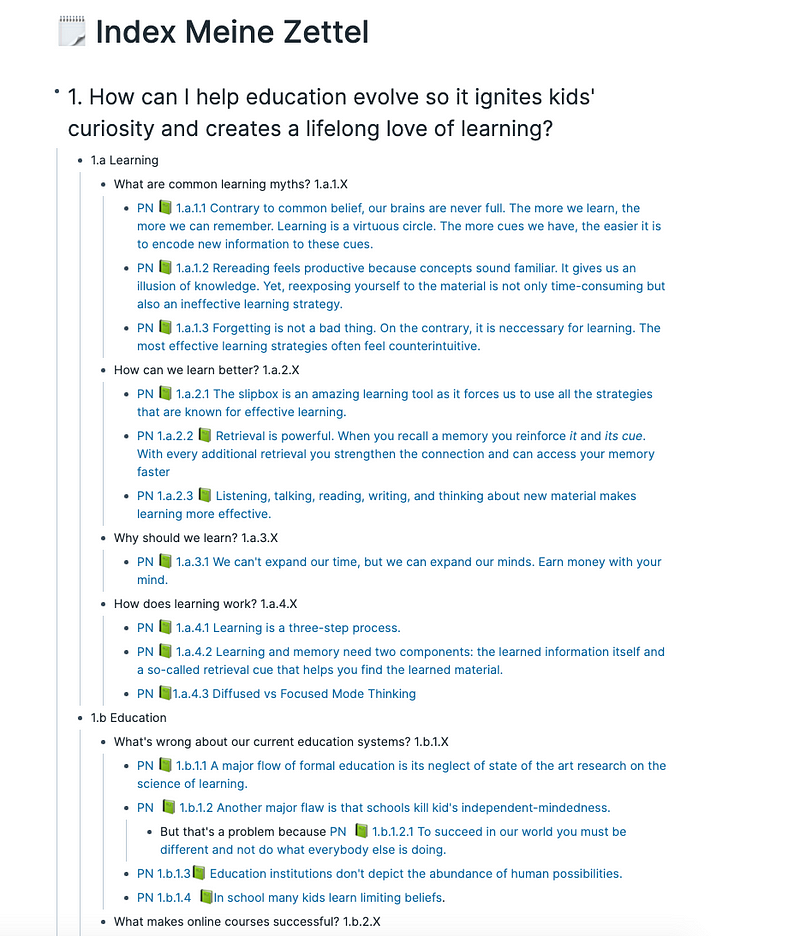
My Roam Set-Up For A Curated Search Engine
The entire setup works without me spending a minute organizing my notes.
Before, I dedicated half an hour every day to optimizing my Roamkasten. Now, all I have to do is what I love — read inspiring books or articles, and highlight anything I find valuable or noteworthy.
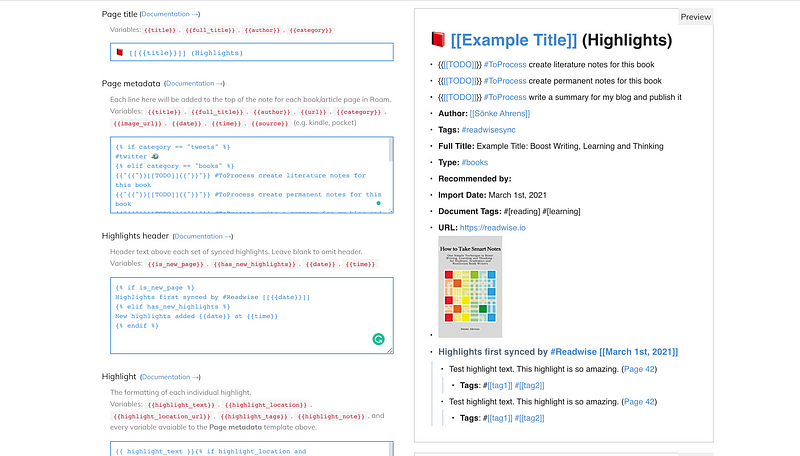
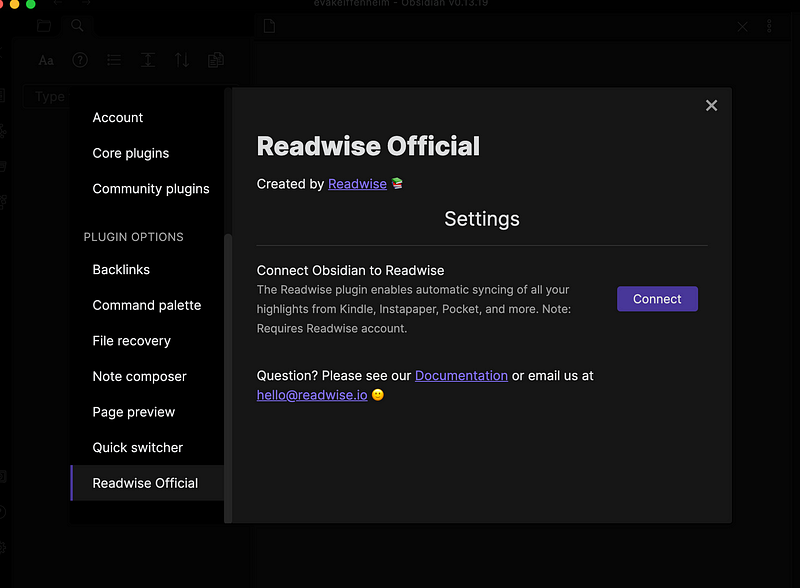
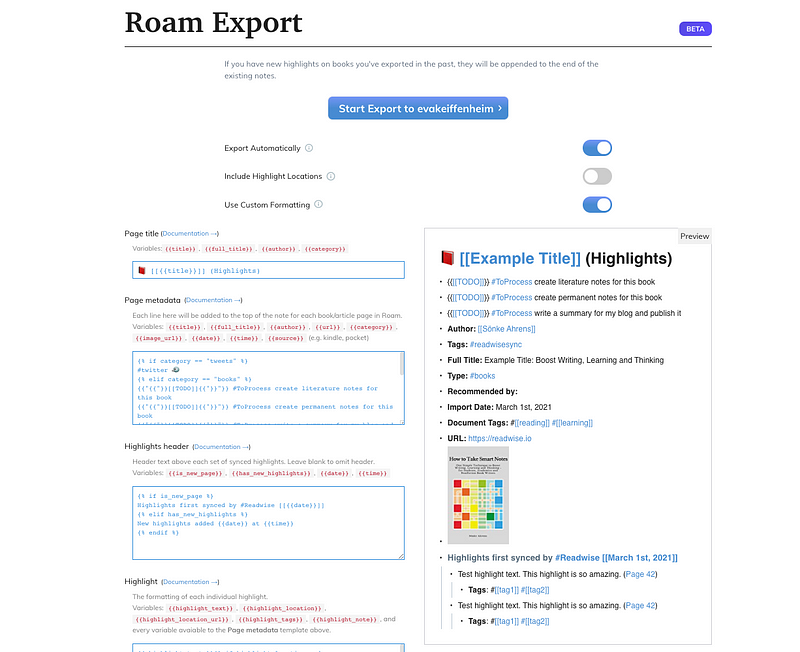
Anything I highlight from one of the below sources will be imported to Roam via a service called Readwise.
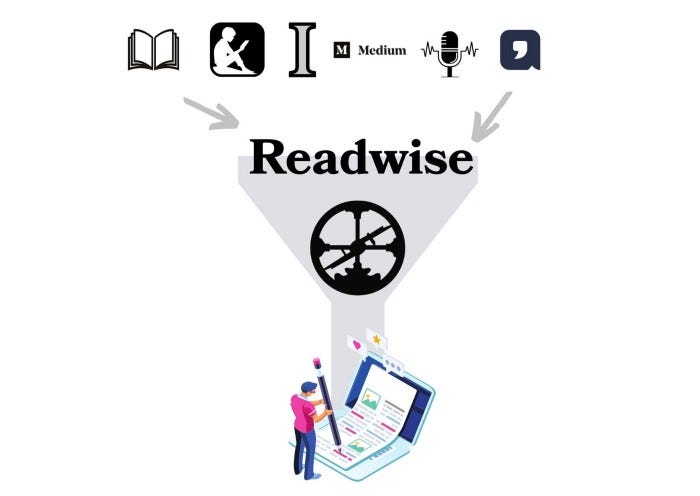
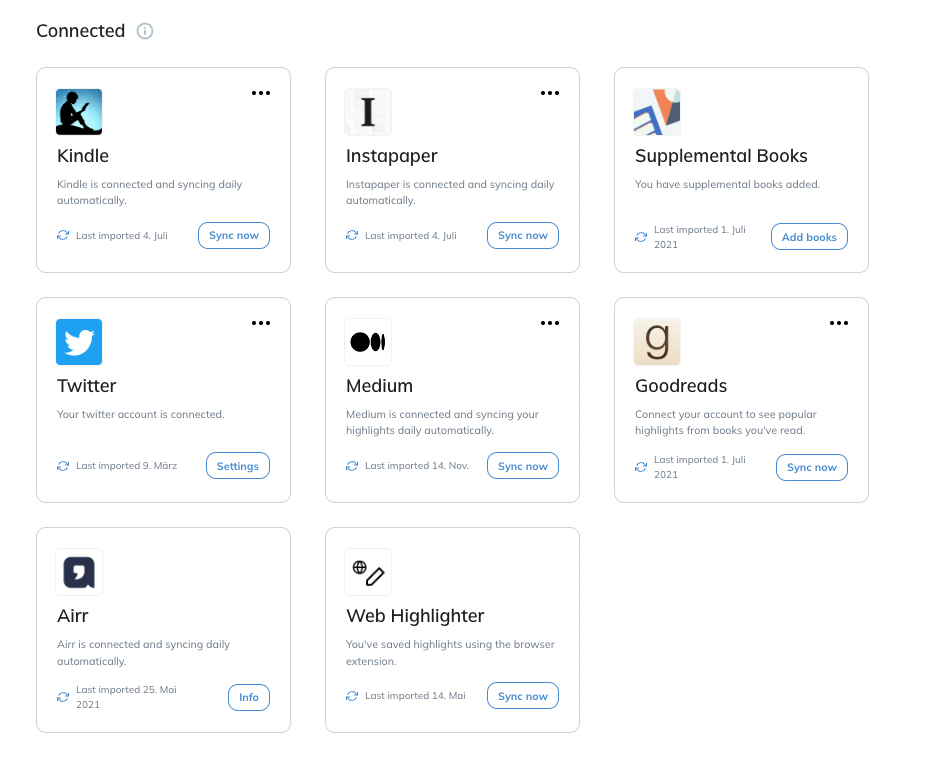
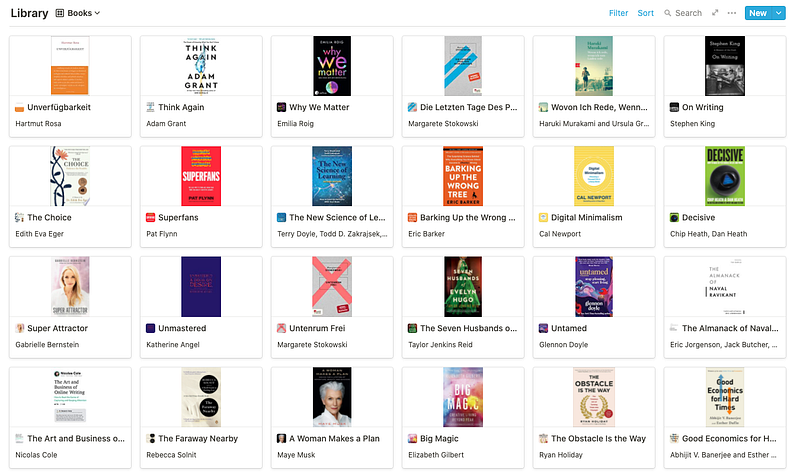
Created by Eva Keiffenheim via Canva // Screenshot of Readwise.io
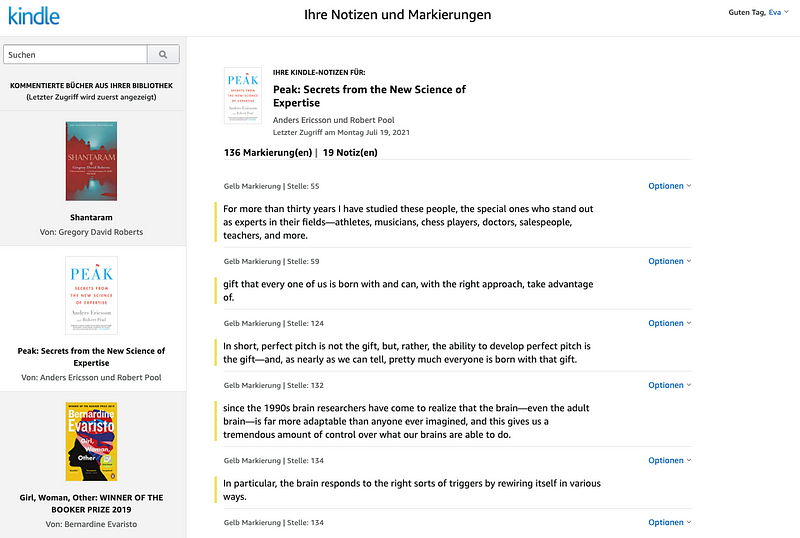
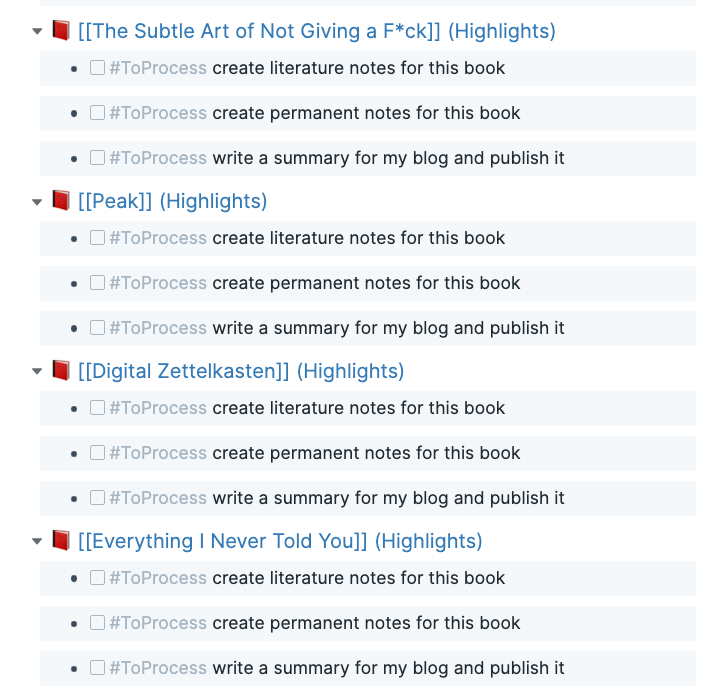
Roam is now my curated personal search engine. It only contains highlights from books, articles, websites, and PDFs, which I found valuable.
This setup works on autopilot. I needed about 20 to 30 minutes to register setup up Readwise to import from my Kindle, Medium, Twitter, and Highlights from the web.
How I Use Roam in My Writing Process
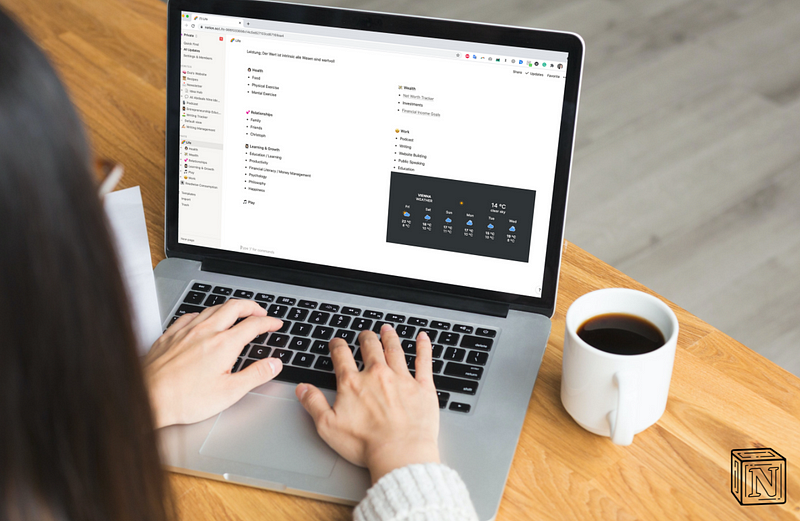
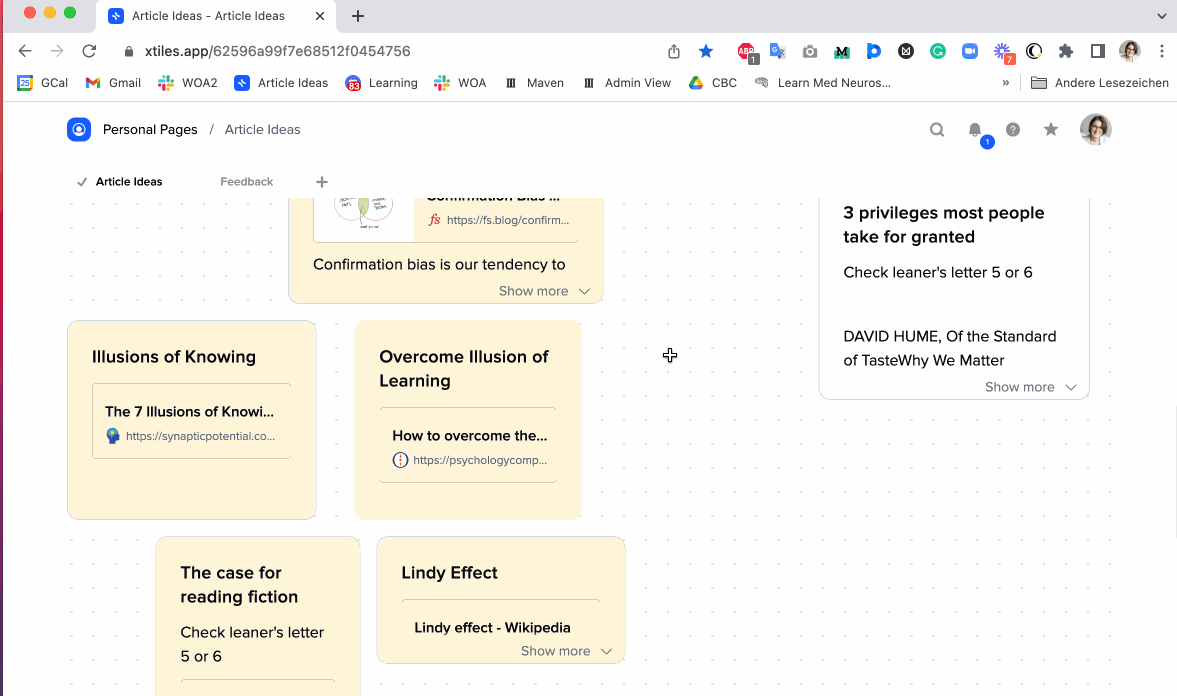
When I start to write an article, I first select an idea from my idea board in xTiles.
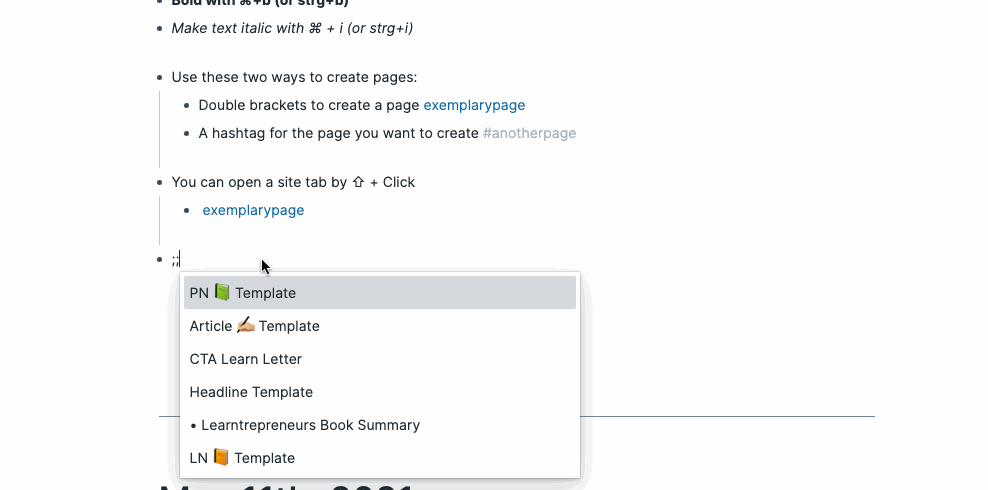
Once I select an idea from the board, I type the idea name and first title idea in my daily notes.
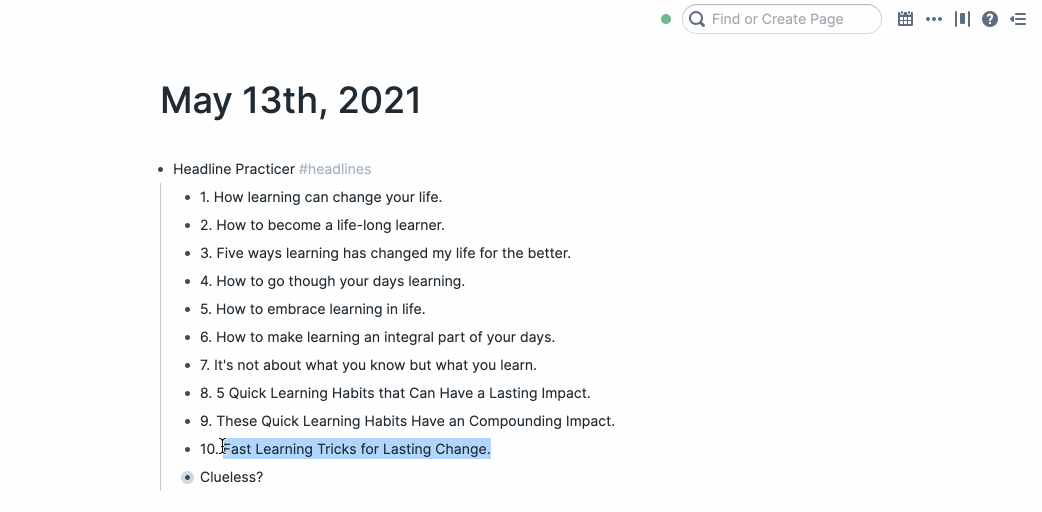
I then use my headline template to write ten headlines and CoSchedule to optimize for the best one.
To create a headline template, I use the following structure:
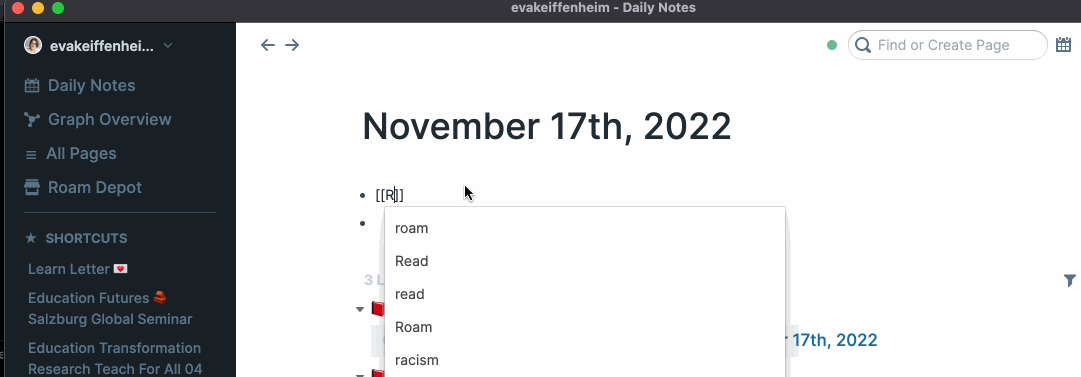
• TemplateName #roam/templates
     • [[Template Title]]
            • Your template's content
Here’s what my current headline practice template looks like:
• Headline Template #roam/templates
     • Headline Practicer #headlines
            • 1.
            • 2.
            • 3.
            • 4.
            • 5.
            • 6.
            • 7.
            • 8.
            • 9.
            • 10.
      • https://headlines.coschedule.com/headlines
      • great examples
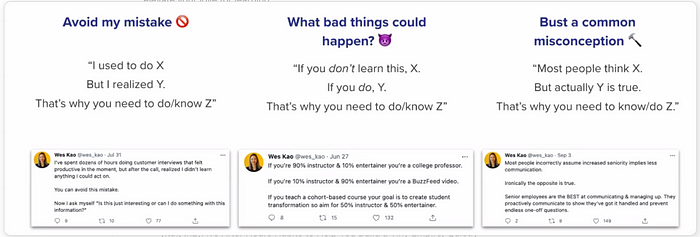
Under the bullet “great examples”, I collect inspiration for recent headlines I read and loved and some more general advice, like this one from Wes Kao.
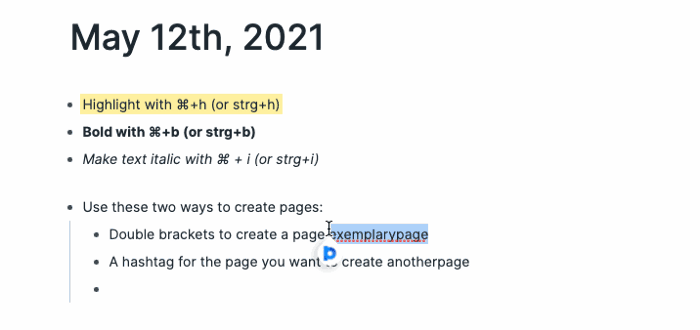
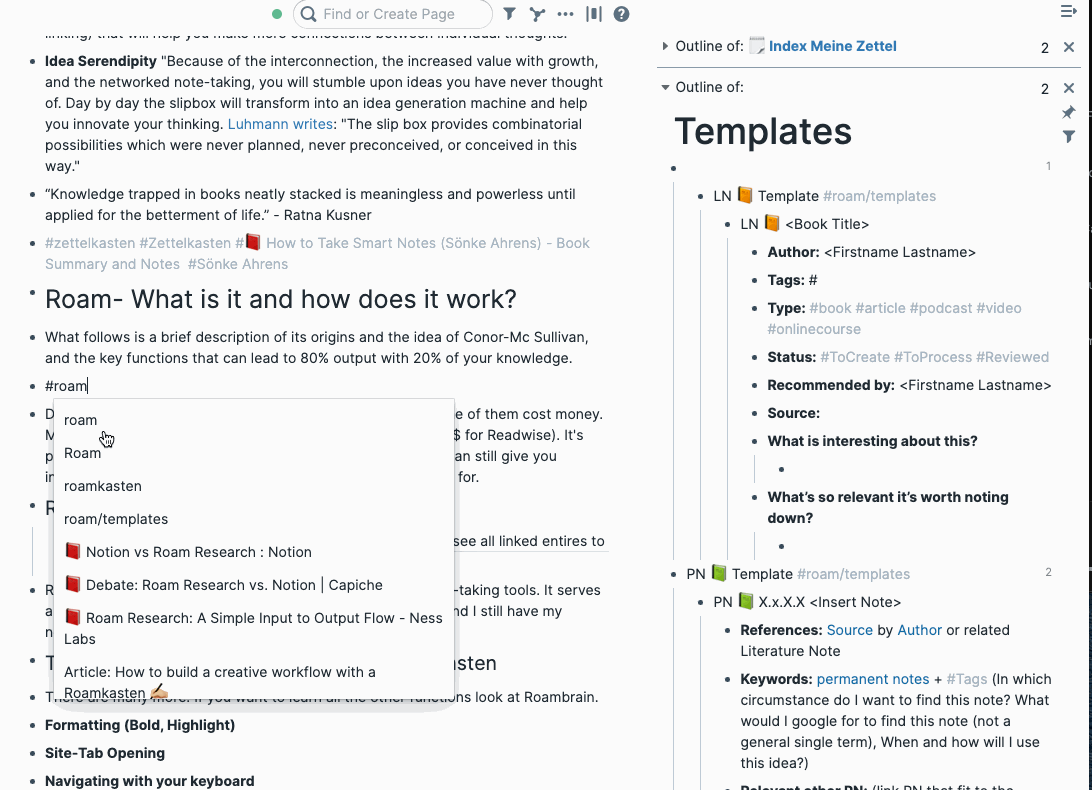
Once I have the headline, and before I start writing, I type the hashtags and keywords related to the article.
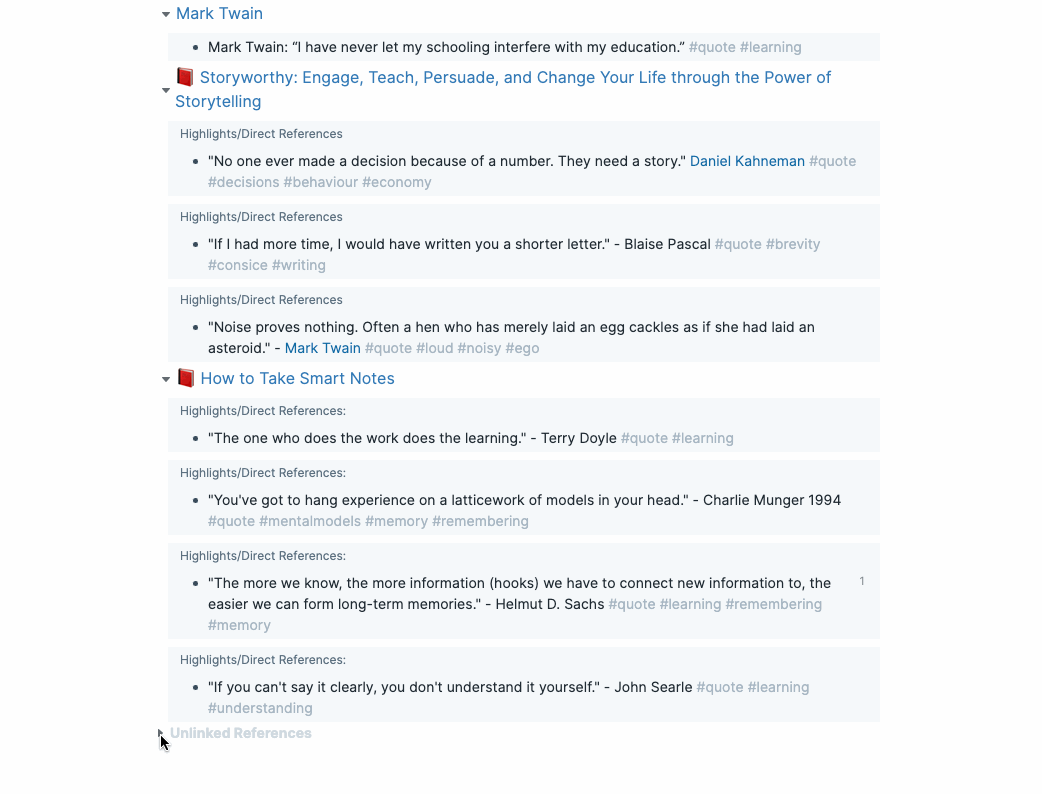
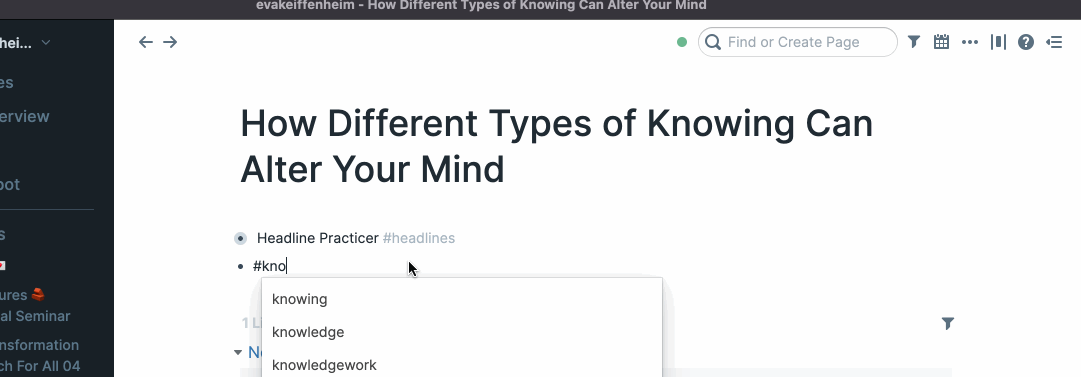
Let’s say I write about different types of knowing. I’ll type in all tags related to that idea (e.g. #knowing and #knowledge). I then the right-side panel and search for linked and unlinked references that are relevant.
I drag anything relevant into the article, link unlinked references, and sometimes add more keyword tags to very interesting ideas.
So when I type in a keyword and check for references and unlinked references, Roam will provide me with all sources related to that keyword — all in one place.
This looks a lot messier than the neat Zettelkasten structure. And it’s definitely incomplete. But it works really well for me.
I don’t need to spend a minute on maintaining Roam, but still get most of the benefits (all resources I highlighted that contain the keyword).
After I’ve written my article in Roam, I go to this site and change the markdown formatting to medium-friendly text.
In Conclusion
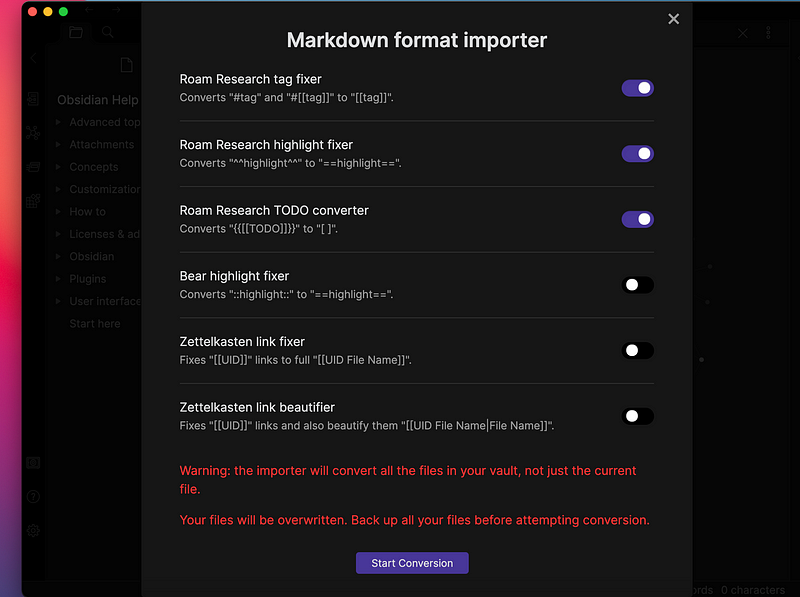
At one point, given speed, pricing, and security restrictions, I switched to Obsidian. People love Obsidian. And while I understand why, I didn’t like it and switched back to Roam.
Whether you use Roam, Notion, Obsidian, or your journal doesn’t matter at all. The best personal knowledge management system is the one that’s most helpful for you — freeing up your time while providing you with what you need.
Want to feel inspired and become smarter about how you learn?
Join +4K others and subscribe free to my Learn Letter. Each Wednesday, you’ll get proven tools and resources that elevate your love for learning.


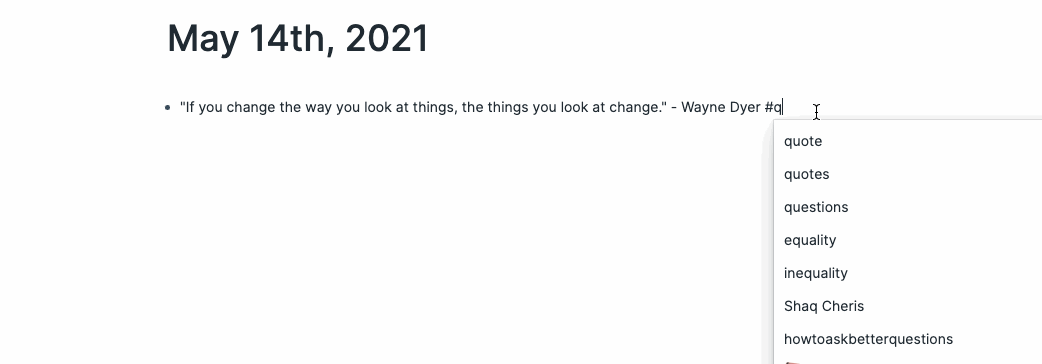


![The author shows their page called [[quote]] where they collect their favorite quotes.](https://cdn-images-1.medium.com/max/800/1*ibWuKcMv3vLE7zS4-Ja81g.gif)